Getting started with Arduino is an exciting first step into the world of electronics and programming. Arduino is a versatile platform that enables anyone, from hobbyists to engineers, to create interactive projects and devices. In this blog, we'll guide you through setting up your Arduino board, installing the Arduino Integrated Development Environment (IDE), and writing your first program to make an LED blink. This foundational project will introduce you to the basics of coding, circuit design, and troubleshooting.
What is Arduino?
Arduino is an open-source electronics platform based on easy-to-use hardware and software. The boards are able to read inputs—such as light on a sensor, a finger on a button, or a Twitter message—and turn it into an output, like activating a motor, turning on an LED, or publishing something online. You can tell your board what to do by sending a set of instructions to the microcontroller on the board. To do so, you use the Arduino programming language (based on Wiring), and the Arduino Software (IDE), based on Processing.
The Arduino platform has become very popular with people just starting out with electronics, and for good reason. Unlike most previous programmable circuit boards, the Arduino does not need a separate piece of hardware (called a programmer) in order to load new code onto the board—you can simply use a USB cable. Additionally, the Arduino IDE uses a simplified version of C++, making it easier to learn to program. Finally, Arduino provides a standard form factor that breaks the functions of the micro-controller into a more accessible package.
Setting Up the Arduino IDE
Before you can start programming your Arduino, you need to set up the Arduino Integrated Development Environment (IDE) on your computer. The IDE is a software application that allows you to write code, upload it to the Arduino board, and interact with the hardware.
- Download the Arduino IDE:
- Visit the official Arduino website and download the IDE for your operating system (Windows, macOS, or Linux).
- Follow the installation instructions specific to your OS.
- Install the Arduino IDE:
- Run the installer and follow the on-screen instructions. The installation process is straightforward and shouldn't take long.
- Once installed, launch the Arduino IDE.
- Connect Your Arduino Board:
- Connect your Arduino board to your computer using a USB cable. Most Arduino boards use a standard USB Type-B cable (the same type used for many printers).
- Select Your Arduino Board:
- In the Arduino IDE, go to
Tools > Boardand select your specific Arduino model from the list (e.g., Arduino Uno).
- In the Arduino IDE, go to
- Select the Port:
- Next, go to
Tools > Portand select the port that your Arduino is connected to. This will typically be something likeCOM3on Windows or/dev/ttyUSB0on Linux.
- Next, go to
With the Arduino IDE set up and your board connected, you’re ready to start programming!
Understanding the Code for the LED Blink
The LED blink program is often the first sketch (program) that Arduino users write. This simple program will turn an LED on for one second, then off for one second, in a loop. It’s a great way to get familiar with the basic structure of an Arduino sketch.
// the setup function runs once when you press reset or power the board
void setup() {
  // initialize digital pin 13 as an output.
  pinMode(13, OUTPUT);
}

// the loop function runs over and over again forever
void loop() {
  digitalWrite(13, HIGH);   // turn the LED on (HIGH is the voltage level)
  delay(1000);              // wait for a second
  digitalWrite(13, LOW);    // turn the LED off by making the voltage LOW
  delay(1000);              // wait for a second
}
Breaking Down the Code:
- Setup Function (
setup()):- The
setup()function runs once when the Arduino board is powered on or reset. It is used to initialize settings. pinMode(13, OUTPUT);tells the Arduino that digital pin 13 will be used as an output pin. This is where we will connect our LED.
- The
- Loop Function (
loop()):- The
loop()function runs continuously after thesetup()function has finished. digitalWrite(13, HIGH);sets digital pin 13 to HIGH (5V), turning the LED on.delay(1000);pauses the program for 1000 milliseconds (1 second).digitalWrite(13, LOW);sets digital pin 13 to LOW (0V), turning the LED off.delay(1000);pauses the program for another second before the loop repeats.
- The
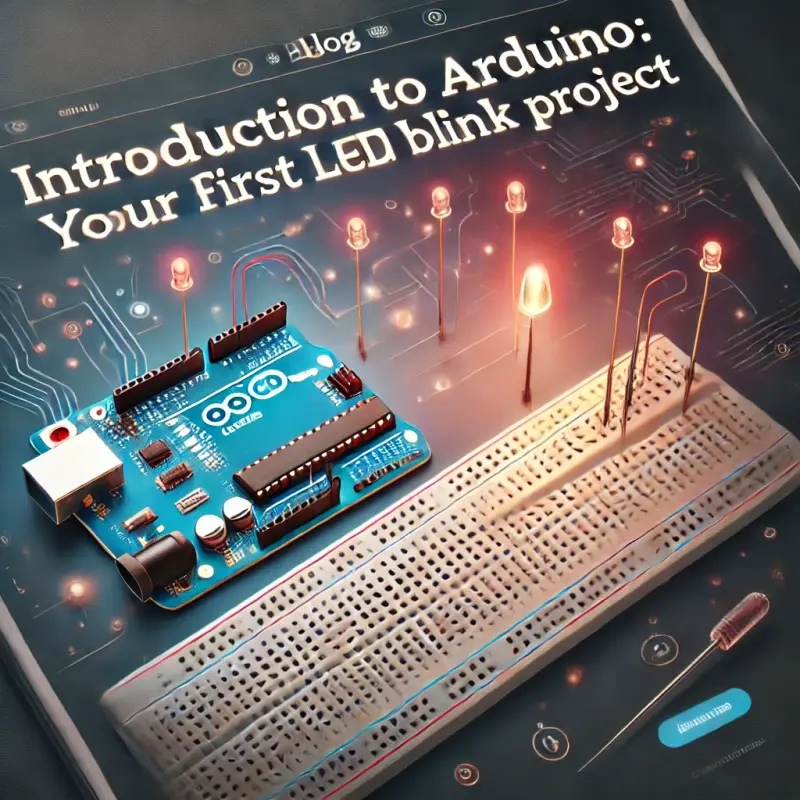
Wiring the Circuit on a Breadboard
Now that you understand the code, let’s move on to wiring the circuit. For this project, you will need:
- An Arduino board (e.g., Arduino Uno)
- An LED
- A 220-ohm resistor
- A breadboard
- Jumper wires
Steps to Build the Circuit:
- Place the LED on the Breadboard:
- Insert the LED into the breadboard. The longer leg (anode) is the positive side, and the shorter leg (cathode) is the negative side.
- Connect the Resistor:
- Connect a 220-ohm resistor between the cathode (negative leg) of the LED and the ground (GND) rail on the breadboard.
- Connect the LED to the Arduino:
- Use a jumper wire to connect the anode (positive leg) of the LED to digital pin 13 on the Arduino.
- Connect the Arduino to Ground:
- Connect another jumper wire from the ground (GND) rail on the breadboard to one of the GND pins on the Arduino.
With the circuit connected, you can now upload the code to the Arduino.
Uploading the Code and Troubleshooting Common Issues
- Upload the Code:
- In the Arduino IDE, click the Upload button (right arrow icon). This will compile the code and upload it to the Arduino board.
- Check the LED:
- If everything is set up correctly, the LED should start blinking, turning on for one second and then off for one second.
Common Troubleshooting Tips:
- No Blinking LED: Double-check the connections, especially the orientation of the LED and the placement of the resistor. Ensure that the correct port and board are selected in the Arduino IDE.
- Error Messages: If you encounter errors while uploading, make sure the Arduino board is properly connected and recognized by your computer. Check the
Tools > Portsettings again. - Unresponsive Board: If the Arduino doesn’t seem to respond, try pressing the reset button on the board and upload the code again.
Conclusion
Congratulations! You've successfully completed your first Arduino project. The LED blink project might be simple, but it introduces many fundamental concepts that you’ll use in more complex projects. From understanding the basics of coding and circuit design to troubleshooting common issues, this project lays the groundwork for your journey into electronics and robotics. With this knowledge, you’re now ready to explore more advanced projects and continue building your skills in the exciting world of Arduino.